My pal Mahriam had the brilliant idea to create a small ironing table on top of her IKEA Raskog cart. You can read about her creation
here at Three Owls Handmade. I decided I needed one too, used her idea as a jumping off point and made my own variation (with lots of help from my sweet hubby)....
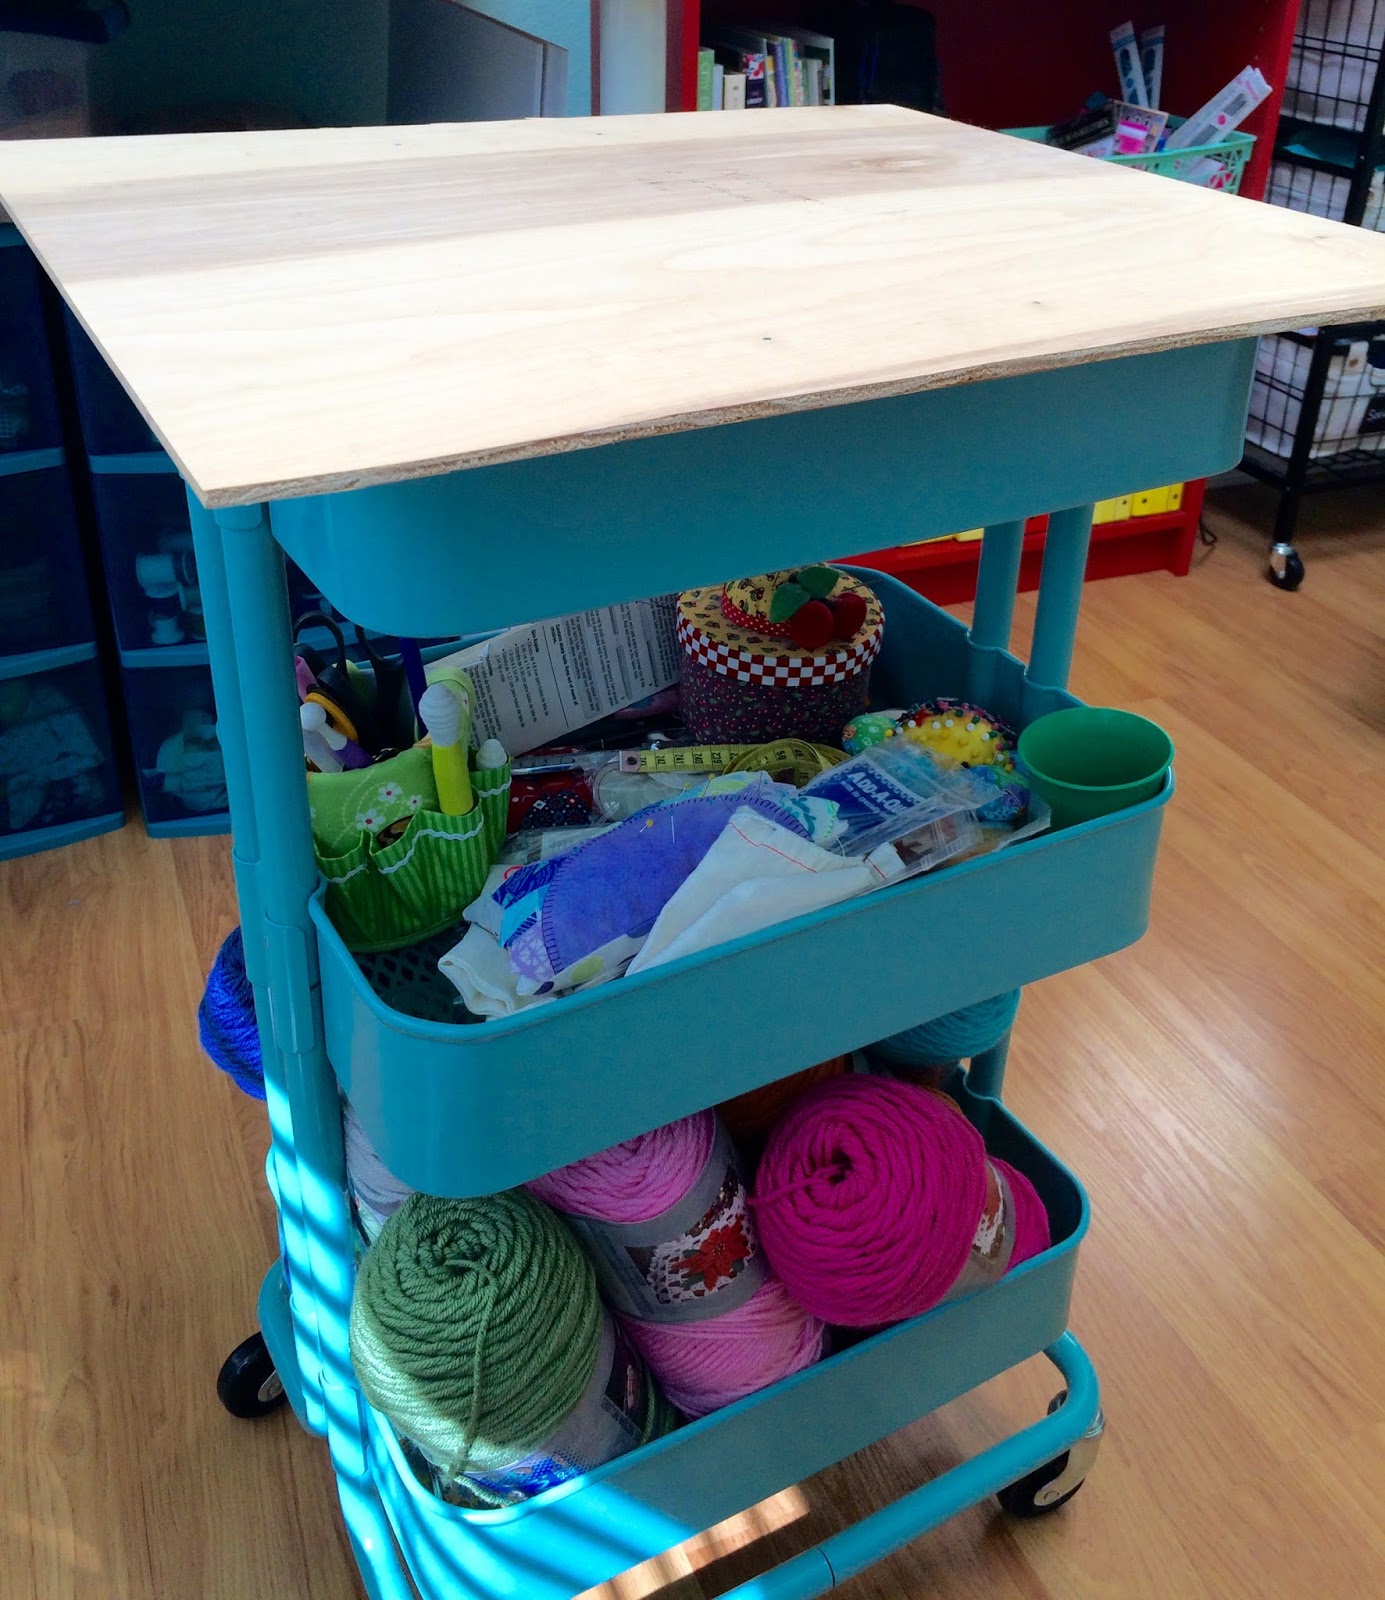
We started with an 18"x20" piece of plywood, bigger than Mahriams. It hangs out over the edge of the cart top....
we added 2 12" strips of wood so that it won't slide off of the cart. Hubby nailed these on from the top, with the inner edge of the strips 2 3/4" in from the side edges....
For padding, I layered a piece of Insulbright (20"x22")and a piece of cotton batting (20"x22") on top of my fabric (cut 24"x26") for the fabric I used a vintage sheet because I loved the colors and the stripe. Also, I have plenty left over for a cover for my regular ironing board...
We wrapped the batting and fabric tightly around the board and stapled it to the back with a staple gun (tip, you'll want to get short staples, we used 1/4", so they don't poke through the top!), mitering the corners and neatly tucking the edges under. My cover is not removable which is fine with me, I can always add another layer over the top if it gets yucky (WHEN it gets yucky!) or remove it and begin again.
I love how it fits perfectly next to my machine!
Ready for my next piecing project!


2 comments:
Very handy Ellyn! It is painful sometimes all the hopping up and down one does when doing something like FPP. So useful to have a small ironing station right next to your machine. I love your stripy version!
I have the exactly same coloured trolley as you but mine holds all my drops baby merino wool for another blanket I'm working on :) Barb
Post a Comment